![]() iService provides a standard answer panel for working with unresolved questions (unassigned or queued to an agent). The standard panel includes buttons for answering, resolving, forwarding and modifying an interaction in various ways. However, there are use cases where you know the agent must take a specific action. In those cases you can provide a custom user interface to the agent that exactly fits their needs. For example, approval requests that must be approved or rejected can include two buttons: Approve Request and Reject Request.
iService provides a standard answer panel for working with unresolved questions (unassigned or queued to an agent). The standard panel includes buttons for answering, resolving, forwarding and modifying an interaction in various ways. However, there are use cases where you know the agent must take a specific action. In those cases you can provide a custom user interface to the agent that exactly fits their needs. For example, approval requests that must be approved or rejected can include two buttons: Approve Request and Reject Request.
Answer panels can be presented to agents based on two settings: tags and topics. Tags are values associated with an interaction, like a property, that are not displayed to agents. They cannot be edited or removed directly from the user interface. Tags must be added an interaction when it is created, either via a filter or directly on a submit form.
To add an answer panel to your workflow, click the Add Answer Panel button.

Adding an Answer Panel
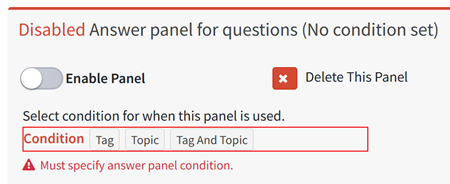
If your workflow has a tag value specified, you will see three options for triggering the panel: Tag, Topic, and Tag and Topic. The tag will limit the display of your custom answer panel to interactions that contain the tag value, regardless of the topic. For example, you might offer custom panels to agents that handle a form submission but use the standard panel for general questions that arrive into a topic. Tags can only be added and edited via system functions, like form submissions and action buttons. Users cannot manually edit tags, which makes then reliable to controlling the user interface.

Conditions for your custom answer panel
Answer panels are created using the same process as Submission Panels. Create the structure for the page with HTML, buttons, and tabs. Then add inputs and actions to the panel as needed using the same method as submit panels shown above. The primary difference between submit forms and answer panels are the controls used on the page.
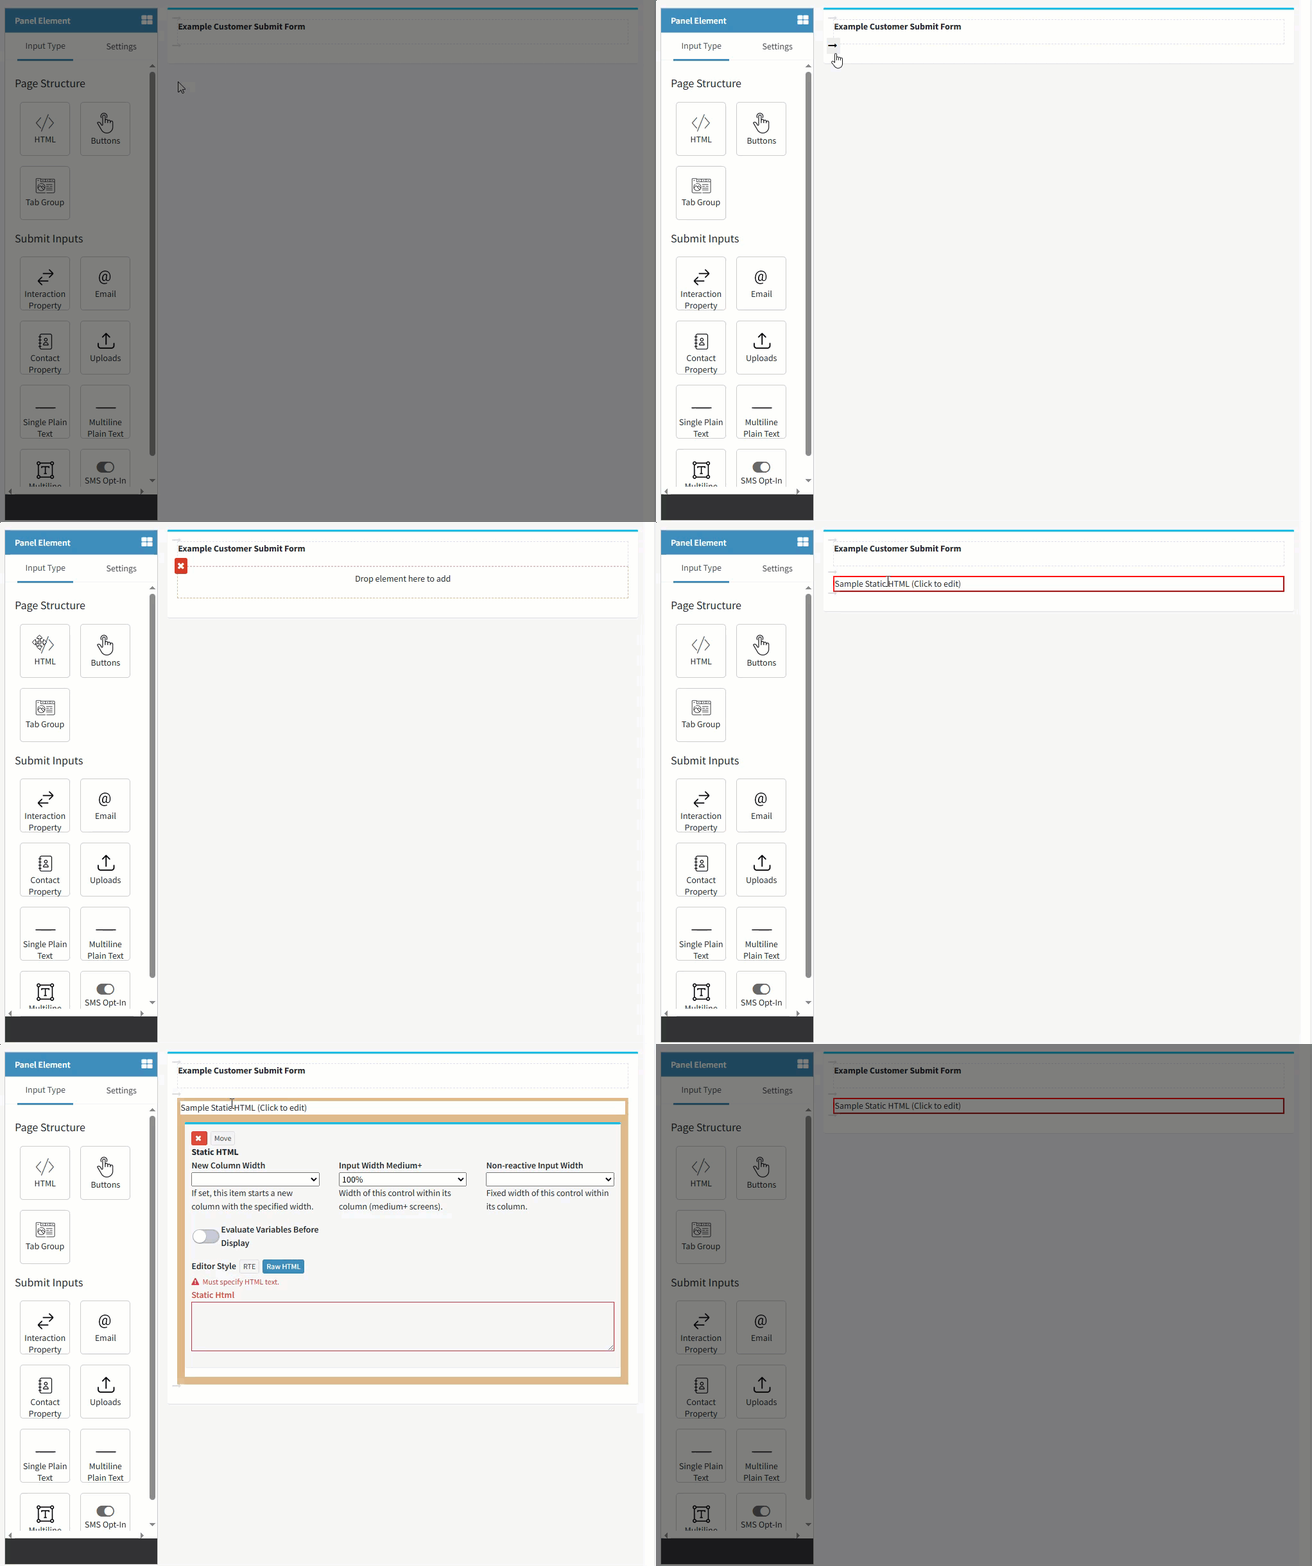
To add an element to the panel, click the arrow for the location to create a drop zone. Then drag an element onto the drop zone to create it. This is illustrated below.

Dragging and dropping an element onto the form.
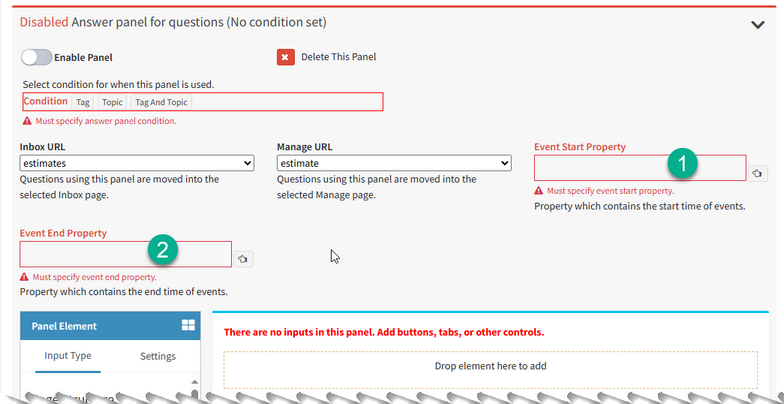
 Using a Dedicated Inbox or Calendar


