 You can customize the behavior of various agent pages using the menus in the Configure Agent Interface settings. This includes the answer panel, which is the set of action buttons presented when answering a question. If you primarily use secure messaging for interacting with customers, select that answer panel in the Answer Panel Buttons tab. The Question Color Coding menu is used to set the time buckets and color of questions based on how long the question has been unresolved. The Dashboard Settings tab provides tools to customize the iService home page, which is loaded when you click the iService logo. The Agent Login Panel provides an option to redirect customers that open the agent login panel by mistake.
Open the Configure Agent Interface menu from the settings menu in the top right corner of iService.

There are two primary views of interactions within iService: the View Mode and the Action Mode. The action mode includes the answer panel with buttons for sending an agent response, resolving the interaction, forwarding, etc. The answer panel can be customized to take different actions based on how you interact. iService includes different versions of the answer panel that you select from the Answer Panel Buttons menu.
The page provides a drop down menu for selecting the answer panel you want to use. When you select an option, the buttons included are shown. Click the Save button, and the panel will be immediately implemented. You can click the buttons to view the associated sub-menus.
Full (With Send)
This is the default menu for answering questions that is explained in Understanding Interactions chapter.
 The Answer Panel Buttons page
Secure Messaging Portal (No Notifications)
This answer panel is designed for a secure messaging configuration that does not allow email in our out of the system. All interactions between contacts and agents are via tickets and notes that must be read by the contact within a portal. This answer panel creates different types of interactions than the default panel when answering questions.
 The Secure Message Portal Answer Panel
1 - The Send button creates a Resolve Note instead of an Agent Response. The Resolve Note will mark the question as resolved, and contact can read the response in a portal. 2 - The Leave Open check box creates a Public Note when Send is clicked (the default panel action for this is to send an Agent Email). This leaves the original question unresolved but adds a note to the conversation for the contact to read in a portal. 3 - The Resolve button creates a Resolve Note, just like the default answer panel. But, it sets the DoNotReply interaction property to TRUE so the note is not shown to the customer.
This version of the answer panel doesn't have a Public Note button, because the Send - Leave Open option already creates a Public Note. It also doesn't have a Spam button because this answer panel is used when there are no emails in the configuration.
The other action buttons are identical to the Default answer actions.
Secure Messaging Portal (With Notification)
The notifications version of the secure message portal sends your customer a secure notification each time you provide an answer. The agent interface functions similarly to the secure notification panel without notification, but different interaction types are used for the Send and Send - Leave Open actions.
The secure notification answer panel functions similarly to the standard answer panel. The differences are illustrated below.
 The secure answer panel with notifications
1 - The SEND button generates a Secure Response that the customer must log in to read. Similar to an Agent Response, the Secure Response resolves the customer question. The SEND button also sends the contact a Secure Notification email that informs them the answer is available. The interaction properties used for controlling display in the message portal are all set to False, meaning the answer will appear as unread in the message center Inbox of the customer.
2. The SEND - Leave Open button generates a Secure Email, which does not resolve the customer's question. A Secure Notification template is emailed to the customer so they know that an answer is available to their question. Similar to the Secure Response, the customer must log in to the message portal to read the Secure Email.
3. The Resolve button create a Resolve Note that is only available for agents to view. It resolves the customer question and the DoNotReply and Deleted interaction properties will be set to True for the answer. This prevents it from being displayed to the customer in the message portal.
4. The Private Note action is identical to the action in the standard interface. It creates a Private Note that is not viewable by the customer in the message portal. Since the secure message portal does not have a SPAM button, the Private Note button was moved from the SAVE split button to its own button here.
To use the notifications version of secure messaging, you must first create a Secure Notification that will be sent to the customer informing them their answer is available.
The secure notification process requires every segment using the notifications answer panel to have a Secure Notification defined within the segment. You should only create one Secure Notification template for each segment. The content within your notification template should explain to the customer that an answer is available, and provide instructions for how to login and read the answer. There are no required variables for the notification template, but the standard variables for name, etc. function similar to other notifications. |
The Manage Messages page provides a real-time view of all questions that are unresolved in your tenant. You can configure custom colors for highlighting the age of questions to make it easier to monitor your service levels. The Question Color Coding by Age page is explained below.
|
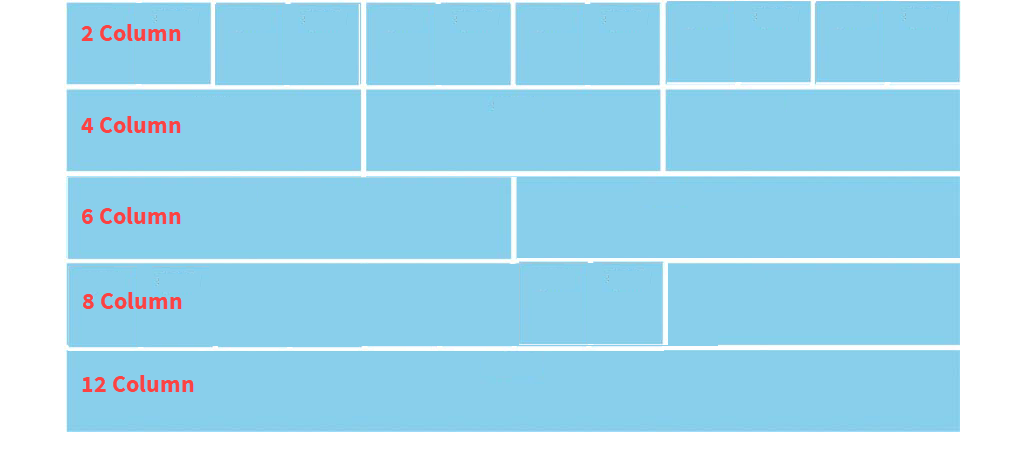
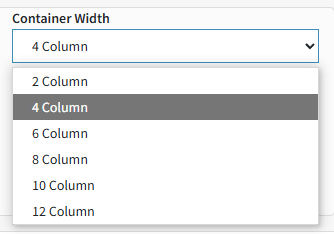
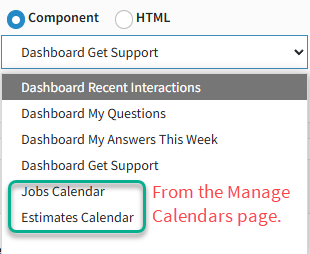
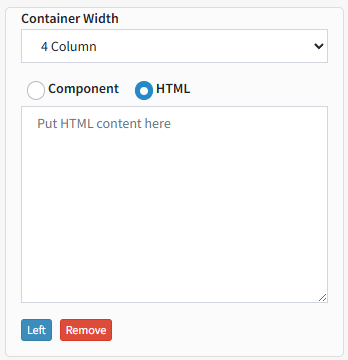
These forms can be moved to a new location on the page or removed, and new forms can be added using the Dashboard Settings page shown below. The example above was generated from the configuration below.
|
The agent login panel is designed for use by agent only. The login directs users to /app, which contains agent pages and is not designed for use by non-agent contacts. Customer portals and custom forms for use by other contacts use the /f structure.
If a customer attempts to log into your agent interface, they will get a message indicating they are in the wrong place. You can add a link to the agent login form to redirect customers that make their way to the agent login panel by setting a value. This value is not set by default, but can be any URL desired (your company website, an iService portal, etc.). When a value is set, a link will appear that says I am not an agent.
In the example below, a customer portal is used for the redirect.
When a value is set, the login panel includes the link shown below.
|
The iService Copilot feature includes an option for providing agents access to custom prompts. Those prompts are create on the Answer with AI Prompts settings page. iService will combine the prompt you write with the body of the question, and submit it to OpenAI. The generated response can then be inserted into the answer by the agent.
To create a new prompt, click Add New Prompt and enter a short name and the full prompt. Be sure to follow the OpenAI best practices for prompt engineering when writing your prompts. There are two parts to your entry.
1 - Prompt Name - this is the label shown in the rich text editor AI Prompts menu. 2 - Prompt Verbiage - this is the prompt that will be sent to OpenAI along with the system prompt integrated by iService.
 Creating AI Prompts
|
© 2008 - 2025 One-to-One Service.com, Inc. All rights reserved.


